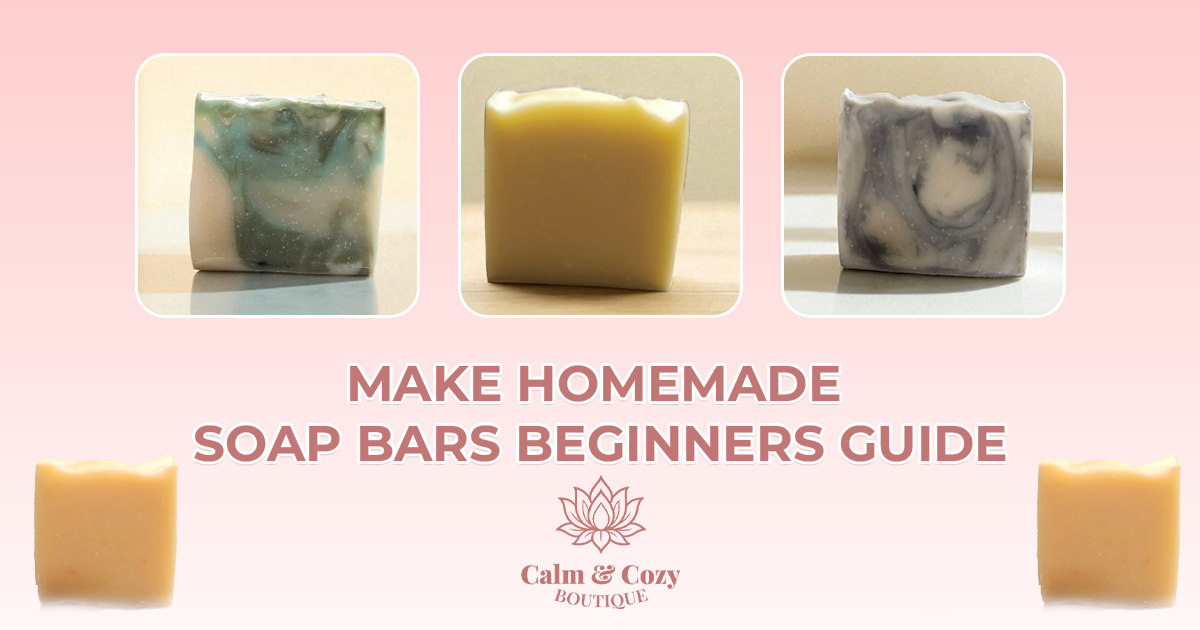
If you’ve ever dreamed of creating your own luxurious, chemical-free soap bars right in your kitchen, you’re in the right place. Homemade soap bars making is not only fun but also gives you complete control over what goes into your skincare routine. From natural oils to nourishing butters and pure essential oils, your soaps can be tailored for your skin’s needs while avoiding harsh chemicals found in commercial brands.
Whether you want to explore the cold process method, the quick melt and pour technique, or add creative swirls and scents, this beginner-friendly guide will help you make soap bars that look beautiful, smell amazing, and feel wonderful on your skin.
Healthier for your skin: No synthetic detergents or toxic chemicals.
Customizable: Choose your own scents, colors, and skin-loving oils.
Eco-friendly: Reduce plastic waste by avoiding packaged soaps.
Budget-friendly: Create multiple bars for a fraction of the store price.
Essential Soap-Making Ingredients
Base oils – Olive oil, coconut oil, sunflower oil, or avocado oil.
Butters – Shea butter, cocoa butter, or mango butter for richness.
Lye (Sodium Hydroxide) – Necessary for cold process soap making (not needed for melt & pour).
Distilled water – Ensures purity and prevents soap spoilage.
Essential oils – Lavender, tea tree, peppermint, or citrus for fragrance.
Natural colorants – Turmeric, activated charcoal, cocoa powder, or mica powders.
Melt and Pour Method (Best for Beginners)
Purchase a ready-made soap base.
Melt it in a double boiler or microwave.
Add natural colors, fragrances, and additives.
Pour into molds and let set for 24 hours.
Cold Process Method (For More Control)
Mix lye with distilled water (caution: wear gloves & goggles).
Melt and combine oils and butters.
Blend until it reaches “trace” (a pudding-like consistency).
Pour into molds, insulate, and cure for 4–6 weeks.

Ingredients (Melt & Pour Example):
1 lb goat’s milk or shea butter soap base
2 tbsp olive oil
1 tbsp shea butter
15–20 drops lavender essential oil
1 tsp dried lavender buds (optional)
Instructions:
Cut the soap base into small cubes.
Melt using a double boiler or microwave in short bursts.
Add olive oil, shea butter, and stir gently.
Mix in essential oil and lavender buds.
Pour into silicone molds.
Let cool for 24 hours, then unmold and enjoy.
Always use distilled water to avoid impurities.
Measure ingredients precisely for consistent results.
Avoid overheating to maintain nutrients in oils.
Use silicone molds for easy removal.
Store cured soaps in a cool, dry place.
Wear gloves, goggles, and protective clothing.
Work in a well-ventilated space.
Always add lye to water (never the reverse).
Making DIY soap bars at home is a rewarding hobby that benefits both your skin and the planet. With natural oils, essential oils, and safe techniques, you can craft bars that are gentle, eco-friendly, and 100% unique to your preferences.
Whether you choose the quick melt and pour method or dive into the cold process technique, the key is to start simple and enjoy the creativity. Soon, you’ll be gifting friends and family with soaps that look, smell, and feel amazing.
1. What is the easiest method for beginners to make soap at home?
The melt and pour method is the easiest for beginners. It uses a pre-made soap base that you simply melt, customize with colors and scents, then pour into molds. No lye handling is required, making it safer for first-timers.
2.Do I need lye to make homemade soap?
Yes, lye (sodium hydroxide) is essential in traditional cold process soap making because it reacts with oils to create actual soap. However, in the melt and pour method, the lye process is already done, so you don’t need to handle it yourself.
3. How long does homemade soap need to cure?
Cold process soap typically requires 4–6 weeks to cure, allowing excess water to evaporate and the soap to harden. Melt and pour soap, however, is ready to use within 24–48 hours.
4. What natural ingredients can I add to my soap?
Popular natural additives include oatmeal (for gentle exfoliation), honey (for moisture), aloe vera (for soothing skin), activated charcoal (for detox), and herbs like lavender or chamomile for fragrance and skin benefits.
5. How can I make my soap bars smell stronger?
Use high-quality essential oils and add them once your soap mixture has cooled slightly to preserve their aroma. For cold process soap, 0.5–0.8 oz of essential oil per pound of soap base is a good starting point.
6. Can I sell homemade soap?
Yes, but make sure your soaps meet local cosmetic regulations. Proper labeling with ingredients, weight, and manufacturer details is required in most regions before selling to the public.
7. How should I store homemade soap bars?
Keep them in a cool, dry, and well-ventilated space. Avoid direct sunlight, as it can fade colors and scents. Storing in breathable packaging like kraft paper or cardboard boxes helps soaps stay fresh longer.